website guide
Starting an editing session
06 Jan 2024Contents
You want to start editing your website. The first thing you do is to set up your workspace by opening up a few applications.
For the purposes of this tutorial, we will presume that the sample project directory is located at /Volumes/Projects/my-website/. This is the main folder that holds all of your website files, and is where GitHub Desktop put a copy of your website files.
Open GitHub Desktop

In Finder, go to the Applications directory look for GitHub Desktop and open it. It should be set up to look at your repository directory.
Fetch and pull the latest code
Make sure you have the latest copy of the code. Others may have made changes to the website since you last edited your content.
Check the top header row in GitHub Desktop.
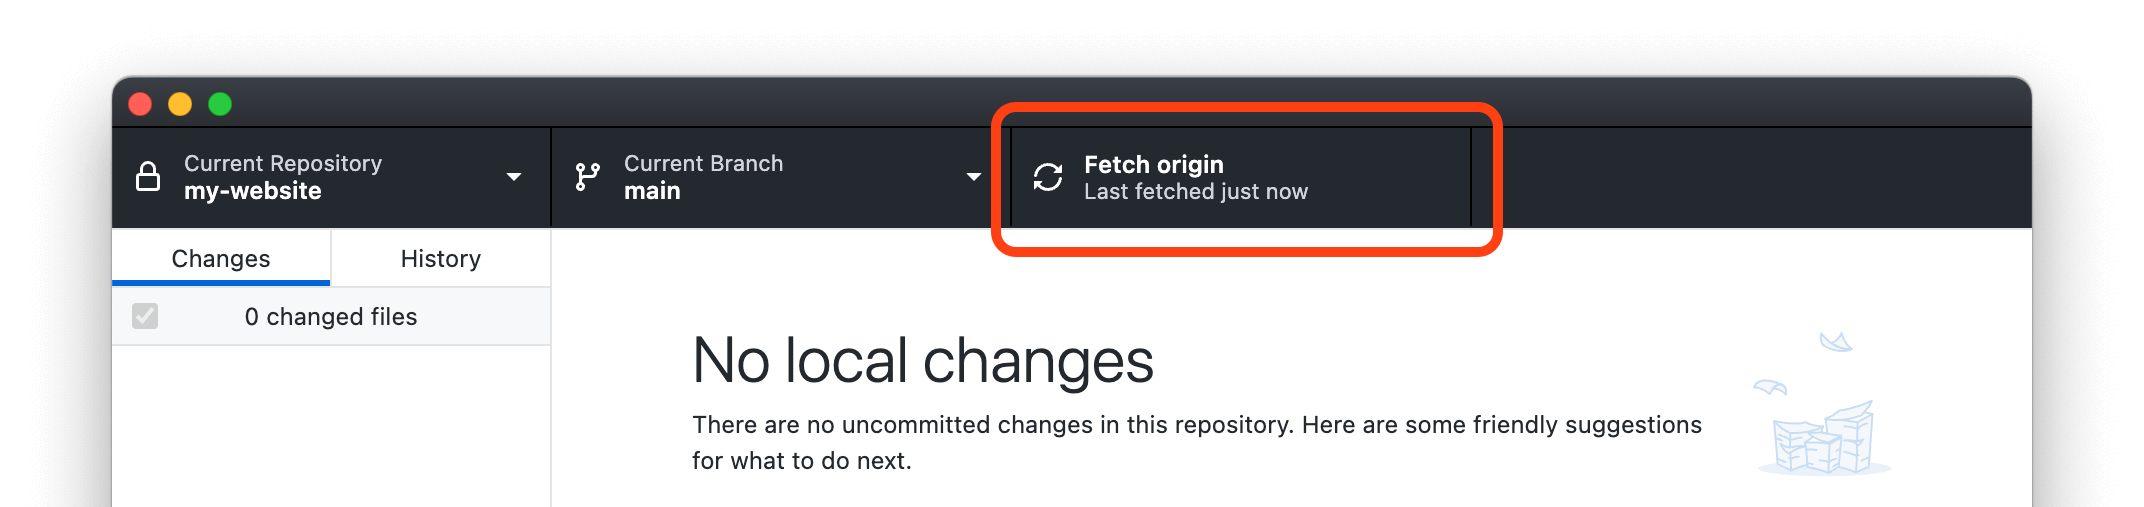
If you see a button that says Fetch origin with no up or down arrows, then you have the latest copy.
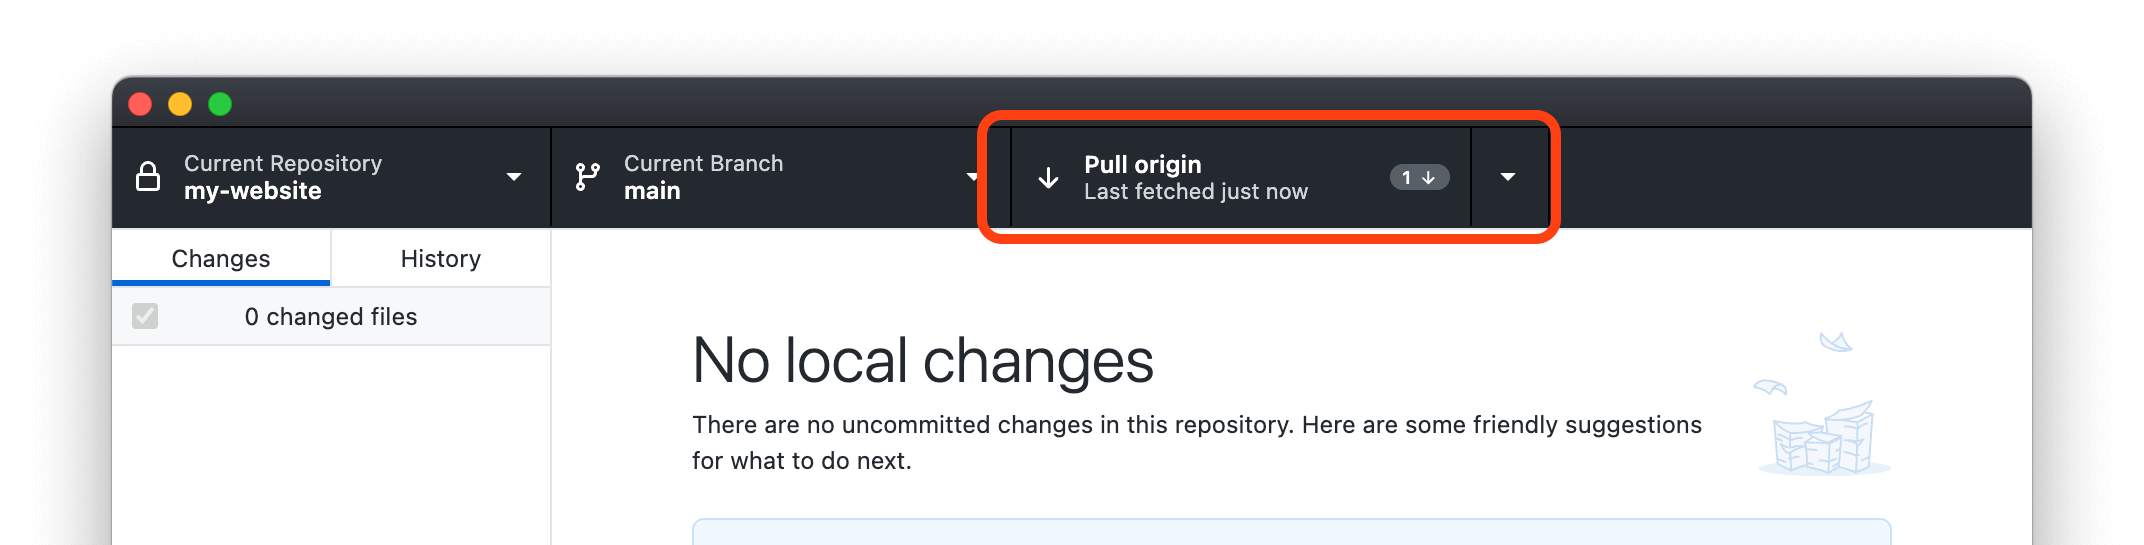
You may see a button that says Pull origin, with a number and a down arrow. This means there are changes in GitHub that you don’t have in your local copy of the website. Press that button to retrieve the latest code and merge it into your copy of the website.
More details
The terms fetch and pull have specific meaning in GitHub. Fetch means to look and see if there are any new changes, and to alert you of them. Fetching leaves your copy of the website alone. Pulling merges those changes in.
Open a project window in Sublime Text

Open the Sublime Text app and set up a project window. The window contains a sidebar with a directory listing of all the files in the project.
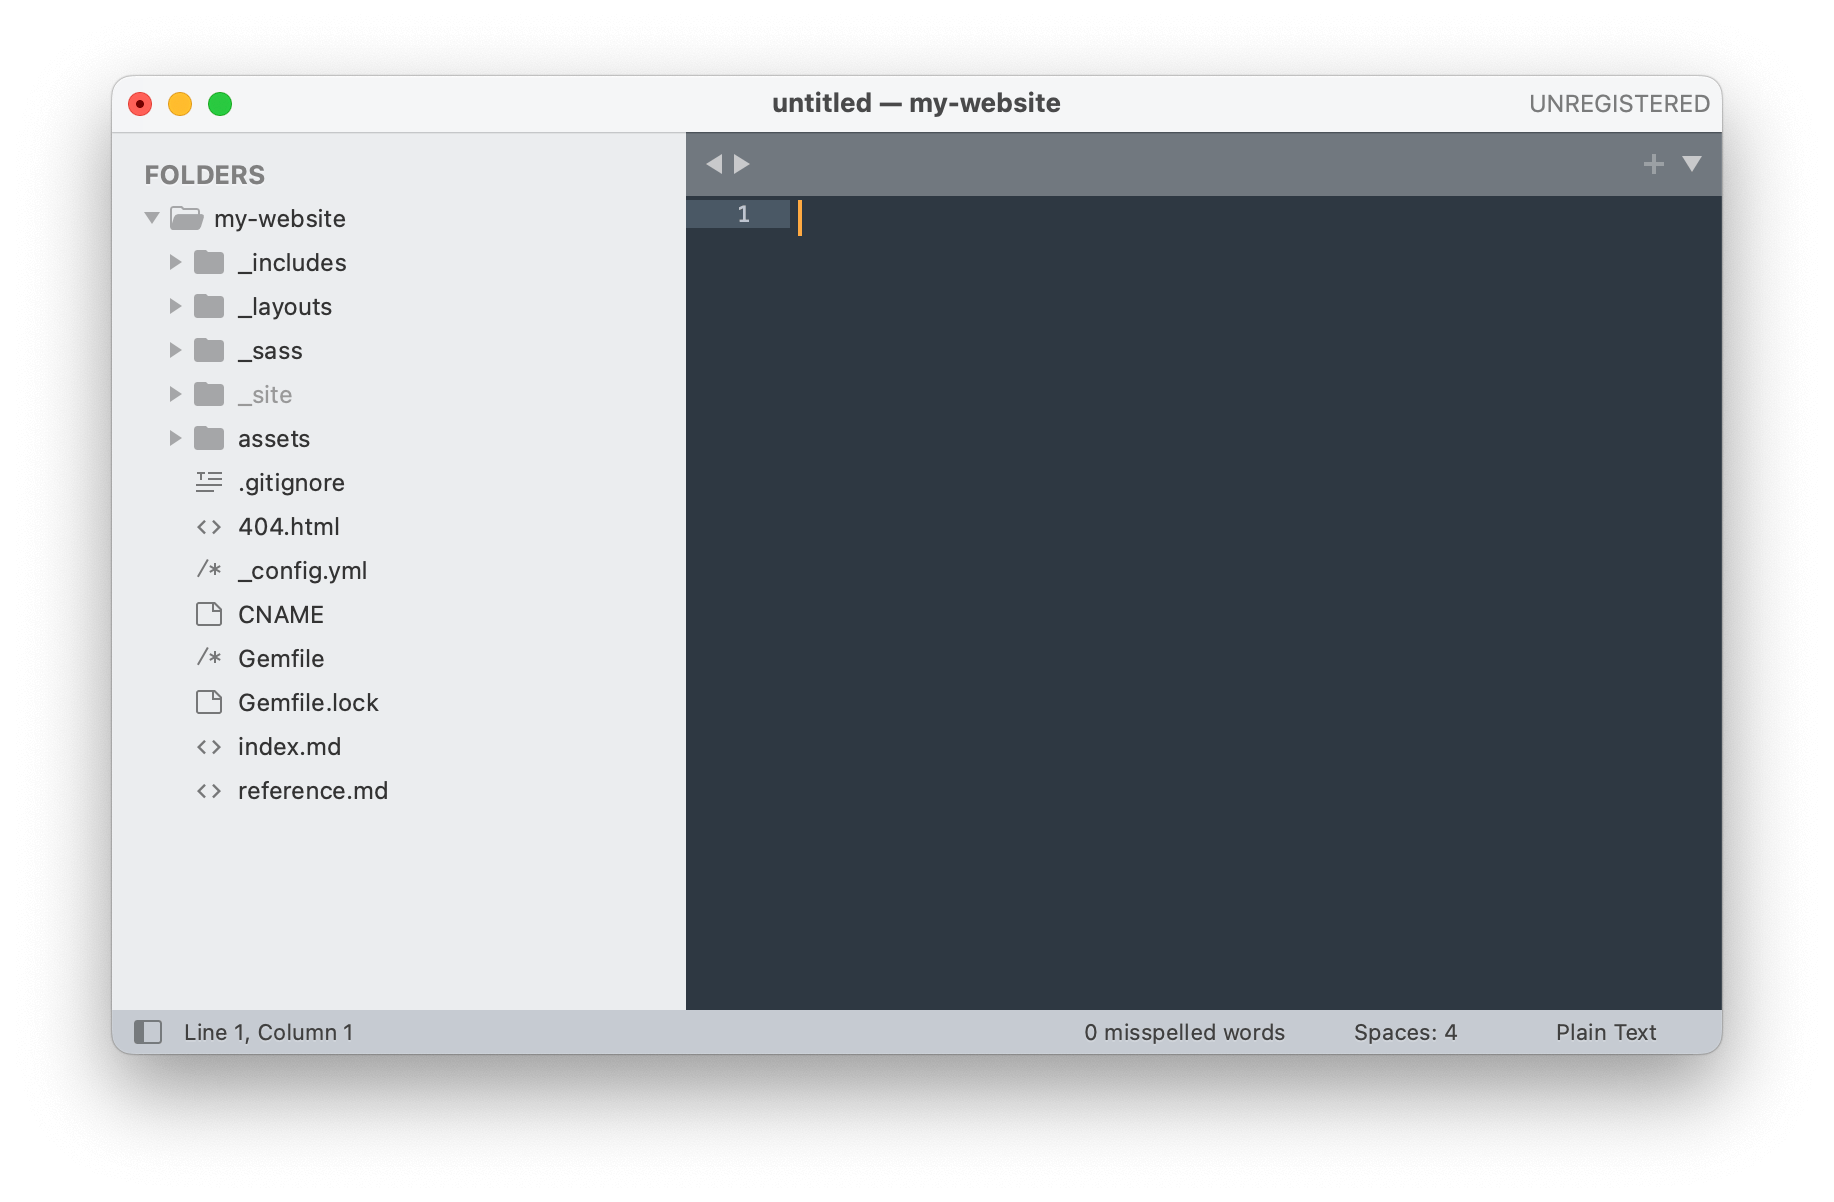
When you launch the app, the window may already appear.
If the window does not appear, you can open it by looking at your file history, or if the directory is not located there, create a new project window. See the next two steps for how to do this.
- To open a new project window based on your file history:
-
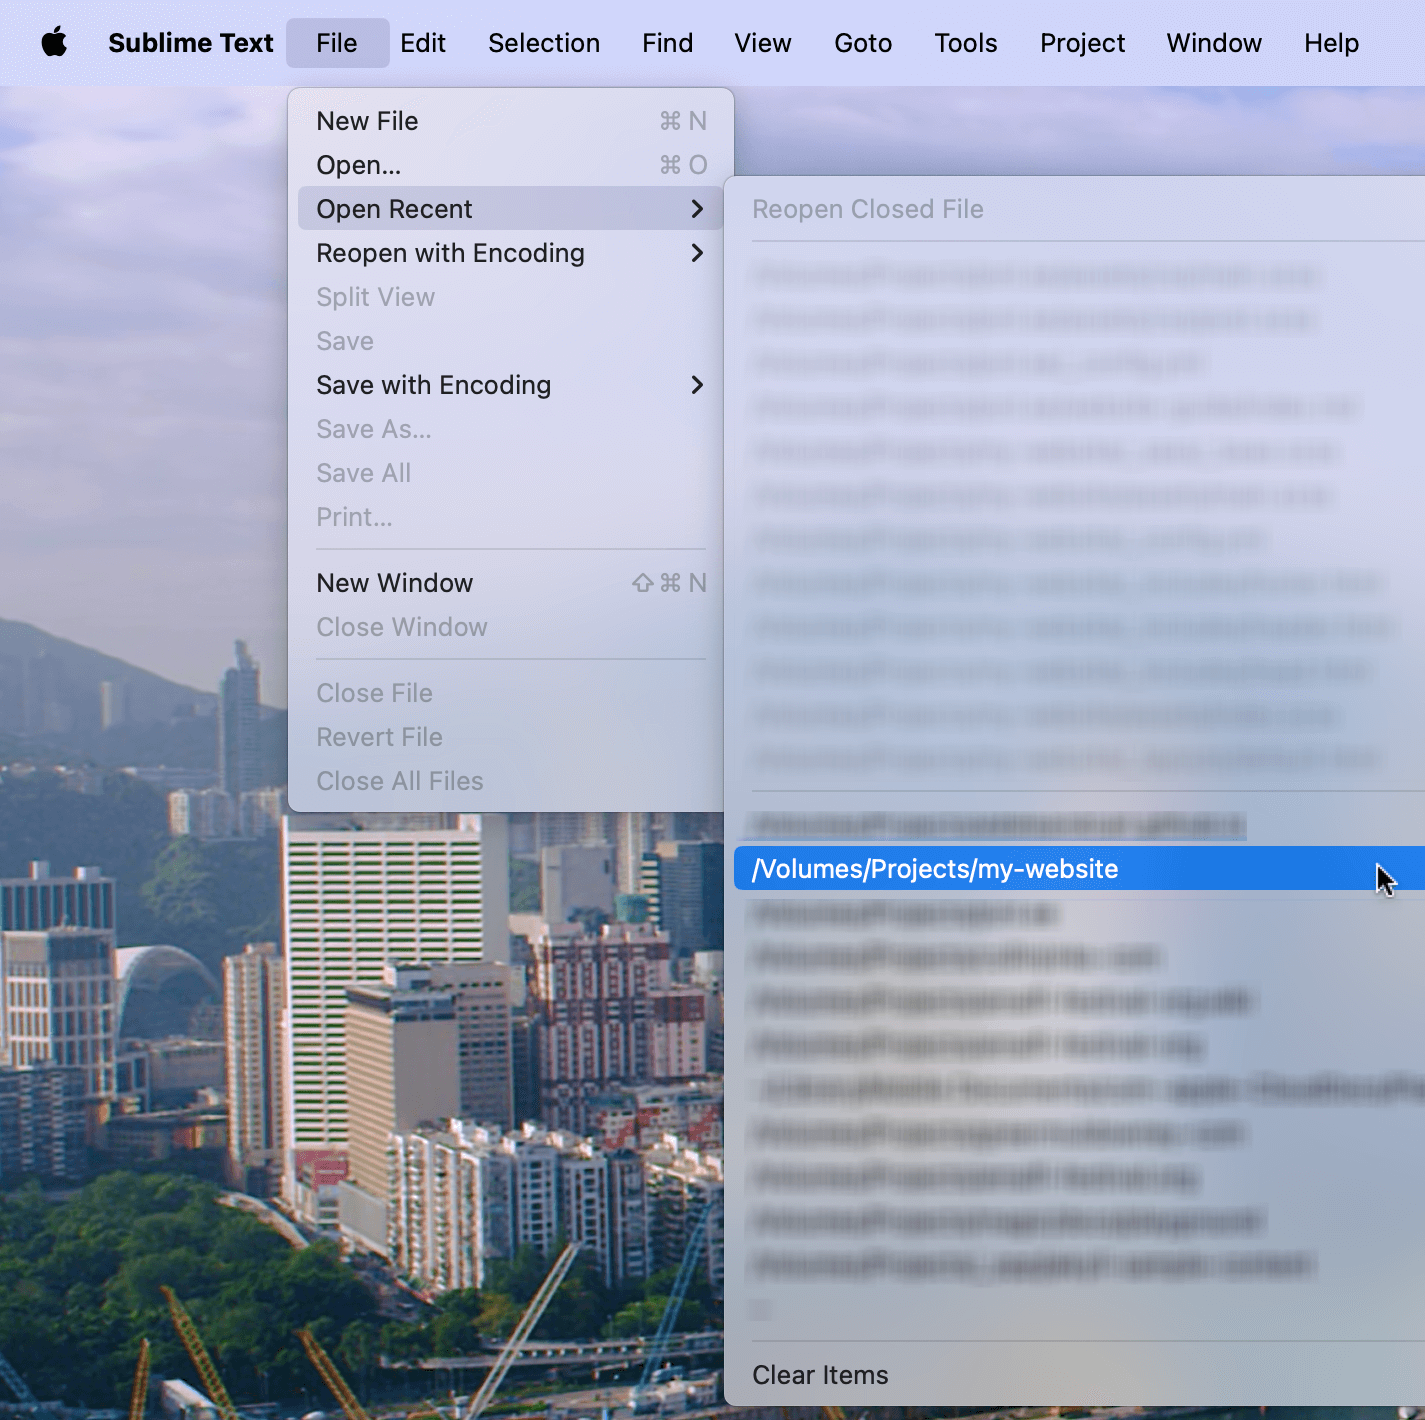
In the menu bar, go to File > Open Recent….
- Look for your project directory. Select it.
- A new project window should appear.
-
- To create a new project window:
Command-Nto create a new window in Sublime Text.- In Finder, go to
my-website/, which is the main folder that holds all of the files of your website. - Drag the folder icon in the title bar of the Finder window, into the Sublime Text window. The project window appears.
Open Terminal and run the local server
If your computer is set up to preview changes you make to your website, initiate the local server.
-

Open Terminal.
-

Your window may not look exactly what is shown, but note that the prompt include the name of your project directory (
my-website). This means the terminal’s current directory is the project directory.If you don’t see the name of your project directory in the prompt, then you need to switch to that directory.
- Type in
cd(with the extra space at the end) -
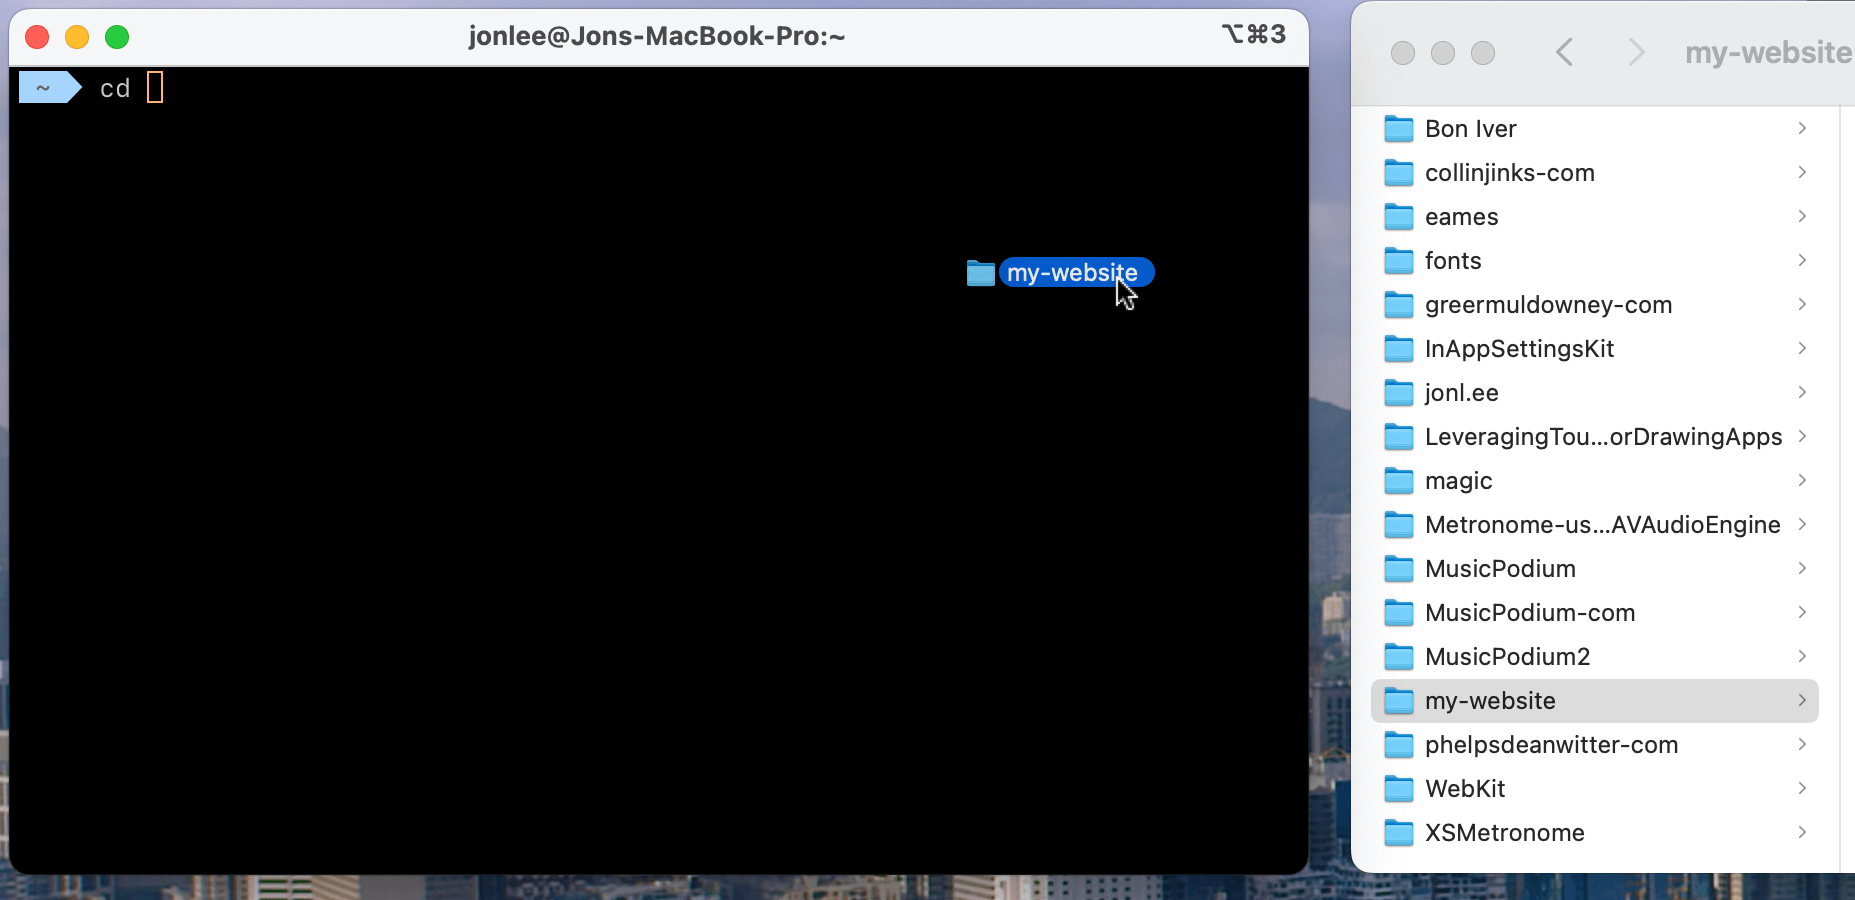
Drag the folder icon in the title bar of the Finder window, into the Terminal window. The full path to the project folder should appear.
-
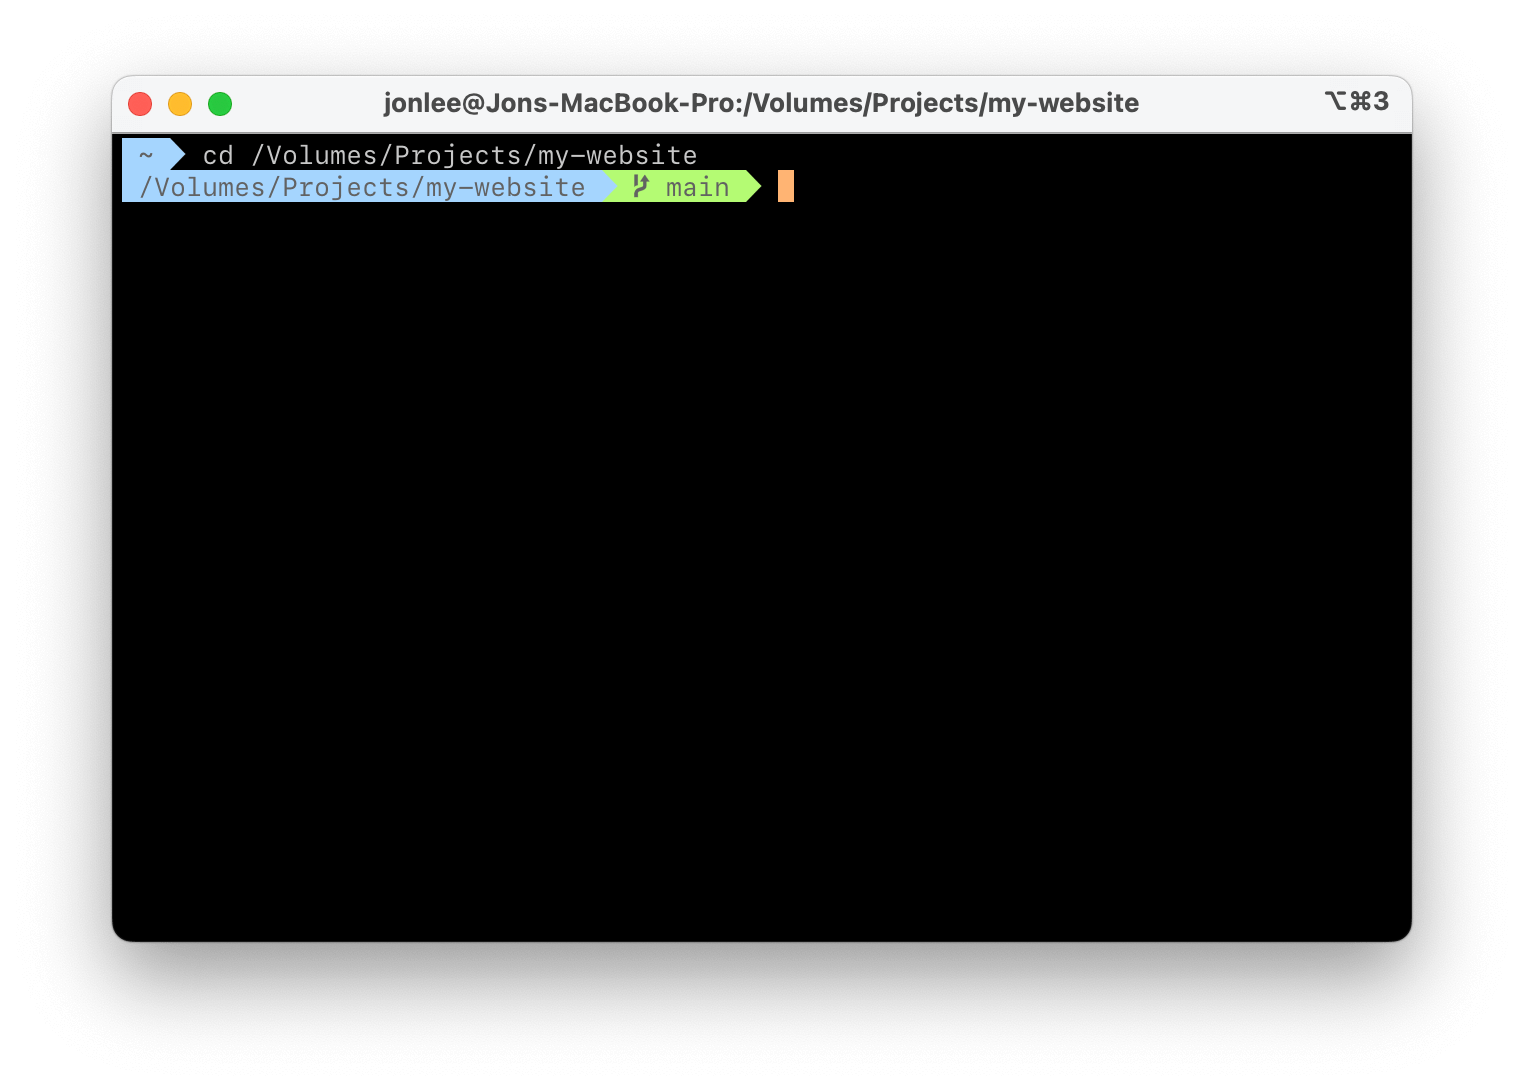
Press Enter.
- Type in
- Type in
bundle exec jekyll serve. Instead of typing the command, you can also press the up key several times to go through the history of previous commands you’ve executed; one of them will be this command.- You should see output similar to this:
        Configuration file: /Volumes/Projects/my-website/_config.yml
            Source: /Volumes/Projects/my-website
       Destination: /Volumes/Projects/my-website/_site
 Incremental build: disabled. Enable with --incremental
      Generating...
       Jekyll Feed: Generating feed for posts
                    done in 1.135 seconds.
 Auto-regeneration: enabled for '/Volumes/Projects/my-website'
    Server address: http://127.0.0.1:4000/
- You should see output similar to this:
- In your web browser, load http://127.0.0.1:4000/. You should see the website.